Access iSCSI target with Windows Vista and 2008 Server
To setup Windows Vista and Windows 2008 Server to access the ReadyNAS, it’s a two-step process. You’ll need to set up the iSCSI Initiator in Windows to connect to the iSCSI target, and you’ll need to format the target device with NTFS (or whatever other Windows filesystem you prefer).
Step 1: Setup Windows iSCSI Initiator to connect to the iSCSI target
Locate the iSCSI Initiator icon in the Control Panel and start it up.
![]()
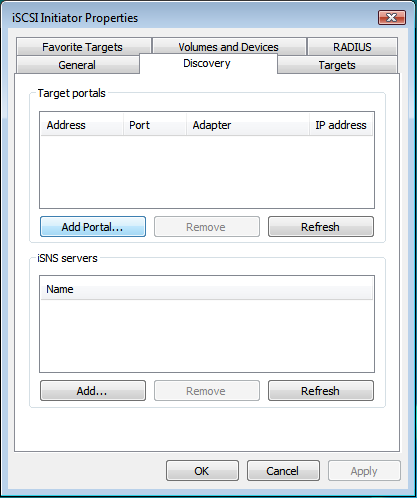
You’ll see the iSCSI Initiator Properties page. Select on the Discovery tab and click on the Add Portal… button.
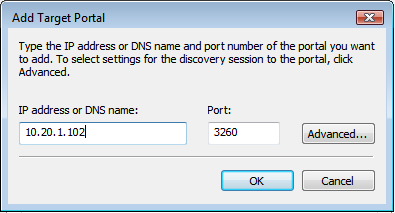
Enter the IP address of the ReadyNAS and click OK.
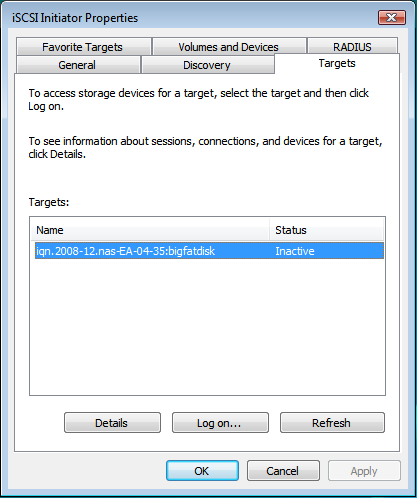
Click on the Targets tab and you should see the iSCSI target on the ReadyNAS. It’ll be initially inactive. Click on the Logon… button.
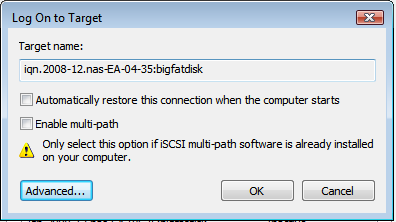
If you have enabled CHAP authentication in FrontView, click on the Advanced… button and enter the CHAP logon information.
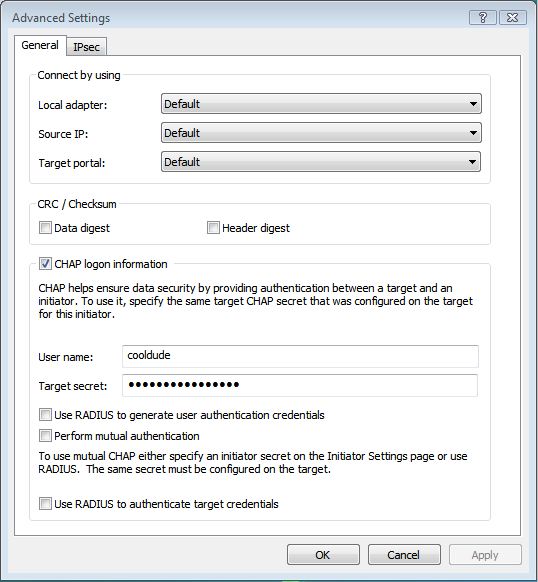
Click OK and you should see the Connected status for the iSCSI device.
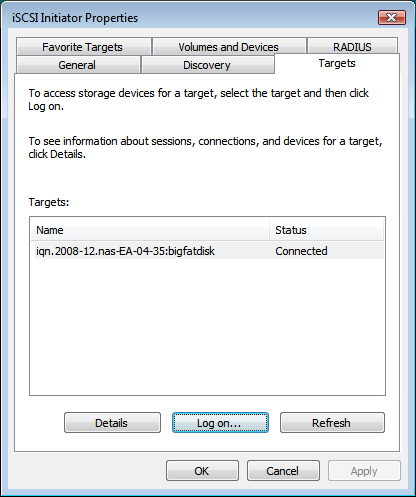
Step 2: Format the iSCSI target device
This step should be taken if you wish to create a file system on the device. If the device already has a file system and you wish to keep it, skip this step.
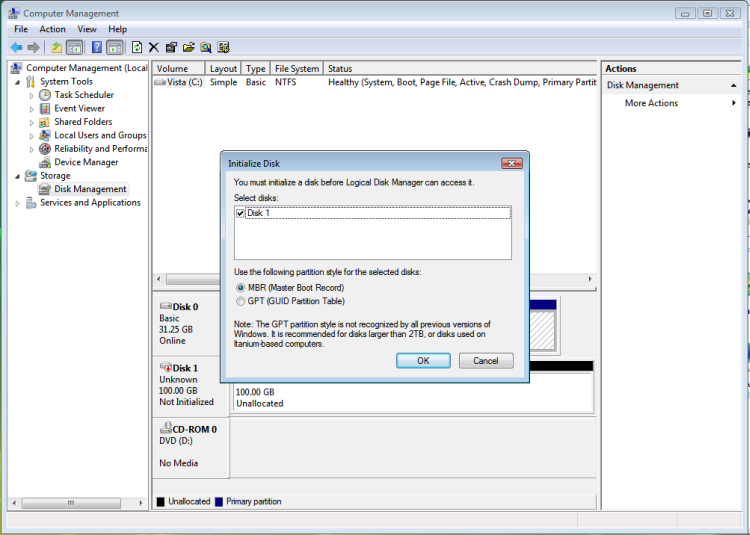
Click on the Start menu, right-click on Computer, and select Manage. You should see the Initialize Disk dialogue box asking you to initialize the disk. Click OK.
Right-click on the newly initialized disk and select New Simple Volume…
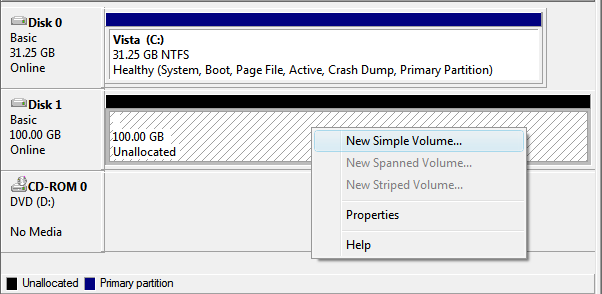
You’ll be presented with a series of Wizard pages. Click Next until you get to the Format Partitionpage.
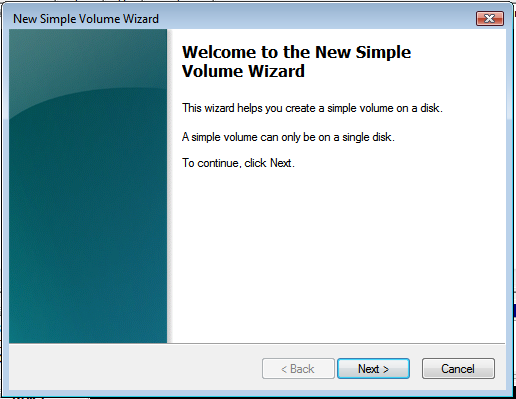
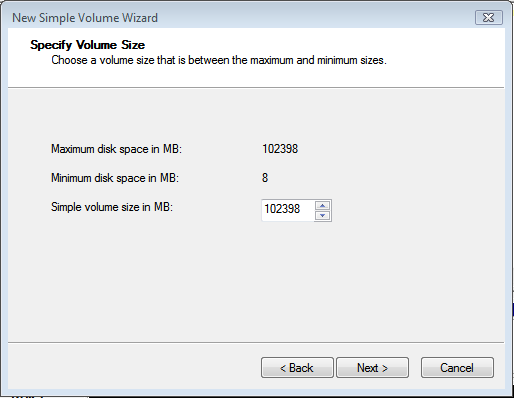
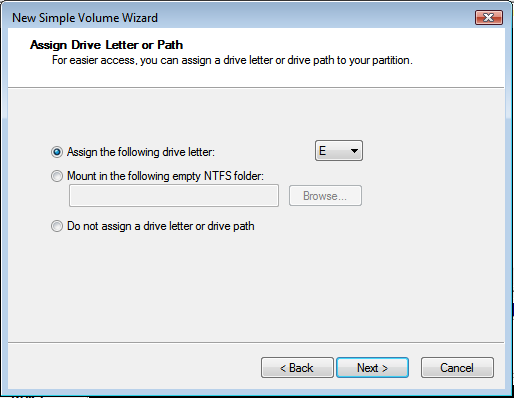
Here, enter the desired volume label, select the Perform a quick format option, and click Next.
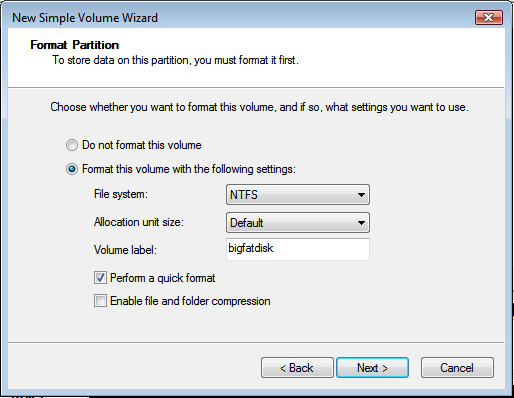
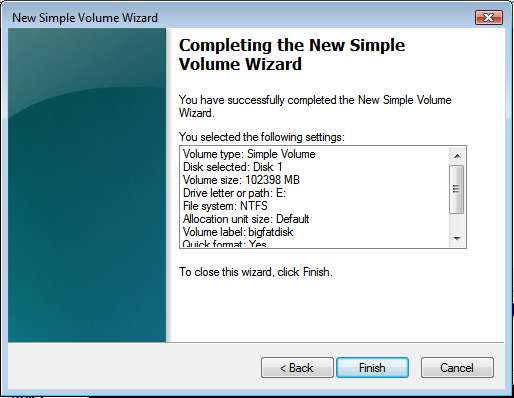
That’s it! Your new iSCSI target volume is now available using the drive letter you specified in the Wizard (E: in our example).
